How to Teach Music Theory Beginner A Lesson 7
Welcome to the How to Teach Ultimate Music Theory Beginner A Workbook Series - Lesson 7.
The Ultimate Music Theory Beginner A, B and C Workbook Series is the perfect theory supplement for Beginner Students (ALL ages, ANY instrument). The UMT Beginner A, B, C Series works with every Method Series and with every Learning Style.
In this Blog, we will look at how to teach the concepts in the Music Theory Beginner A Workbook Lesson 7. Remember to read the first 7 Blogs in this series:
Music Theory Beginner A Overview
Music Theory Beginner A - Lesson 1
Music Theory Beginner A - Lesson 2
Music Theory Beginner A - Lesson 3
Music Theory Beginner A - Lesson 4
Music Theory Beginner A - Lesson 5
Music Theory Beginner A - Lesson 6
Join me as we explore tips and tricks to incorporate theory, ear training, sight reading and games into every lesson. Let's jump in!
How to Teach Music Theory Beginner A Pages 40 & 41
Lesson 7 introduces the "STEP". As we pre-teach Intervals, it is important to discuss what a STEP actually means.
In Music Theory, the Keyboard Pattern of a STEP is the movement from one white key to the next white key (with no white key in the middle). The pattern can STEP UP (to the right) or STEP DOWN (to the left).
Now, as Teachers, we know that there are different types of steps - a whole step (whole tone) and a half step (semitone). At this level though, we are only focusing upon the action of movement from one white key to the very next white key, going up or going down, with no WHITE key in between.
The first step in teaching my young students about that distance of a step is to grab 2 different erasers!
- Step 1 - have your student place one eraser on any white key. Discuss that putting one eraser down is not moving anywhere - there is no distance, there is no pattern. It is like putting one foot down on the floor - you are not going anywhere!
- Step 2 - ask your student to place the second eraser on the very next white key either above (stepping up) or below (stepping down) that first eraser.
- Step 3 - play the erasers (playing the first eraser first and then stepping to the second eraser). Listen to that pattern. Are you playing a step up or a step down?
Try this off the bench - when you stand on one foot, do you have a direction? Are you going forward or backward? (Hint - the answer is "no - you do not have movement when you stand on one foot.") Now, when you put that second foot down, you are going somewhere!
If your student does not really "get" this concept of movement/distances, I find it helpful to go to a staircase and ask your student to demonstrate how they walk up or walk down the staircase step by step. Notice that a "step up" or a "step down" involves putting 1 foot on the first step and then your other foot on the second step (and we don't skip over a step). Discuss how a step on the piano keyboard involves playing 2 keys, moving from one white key to the very next white key.
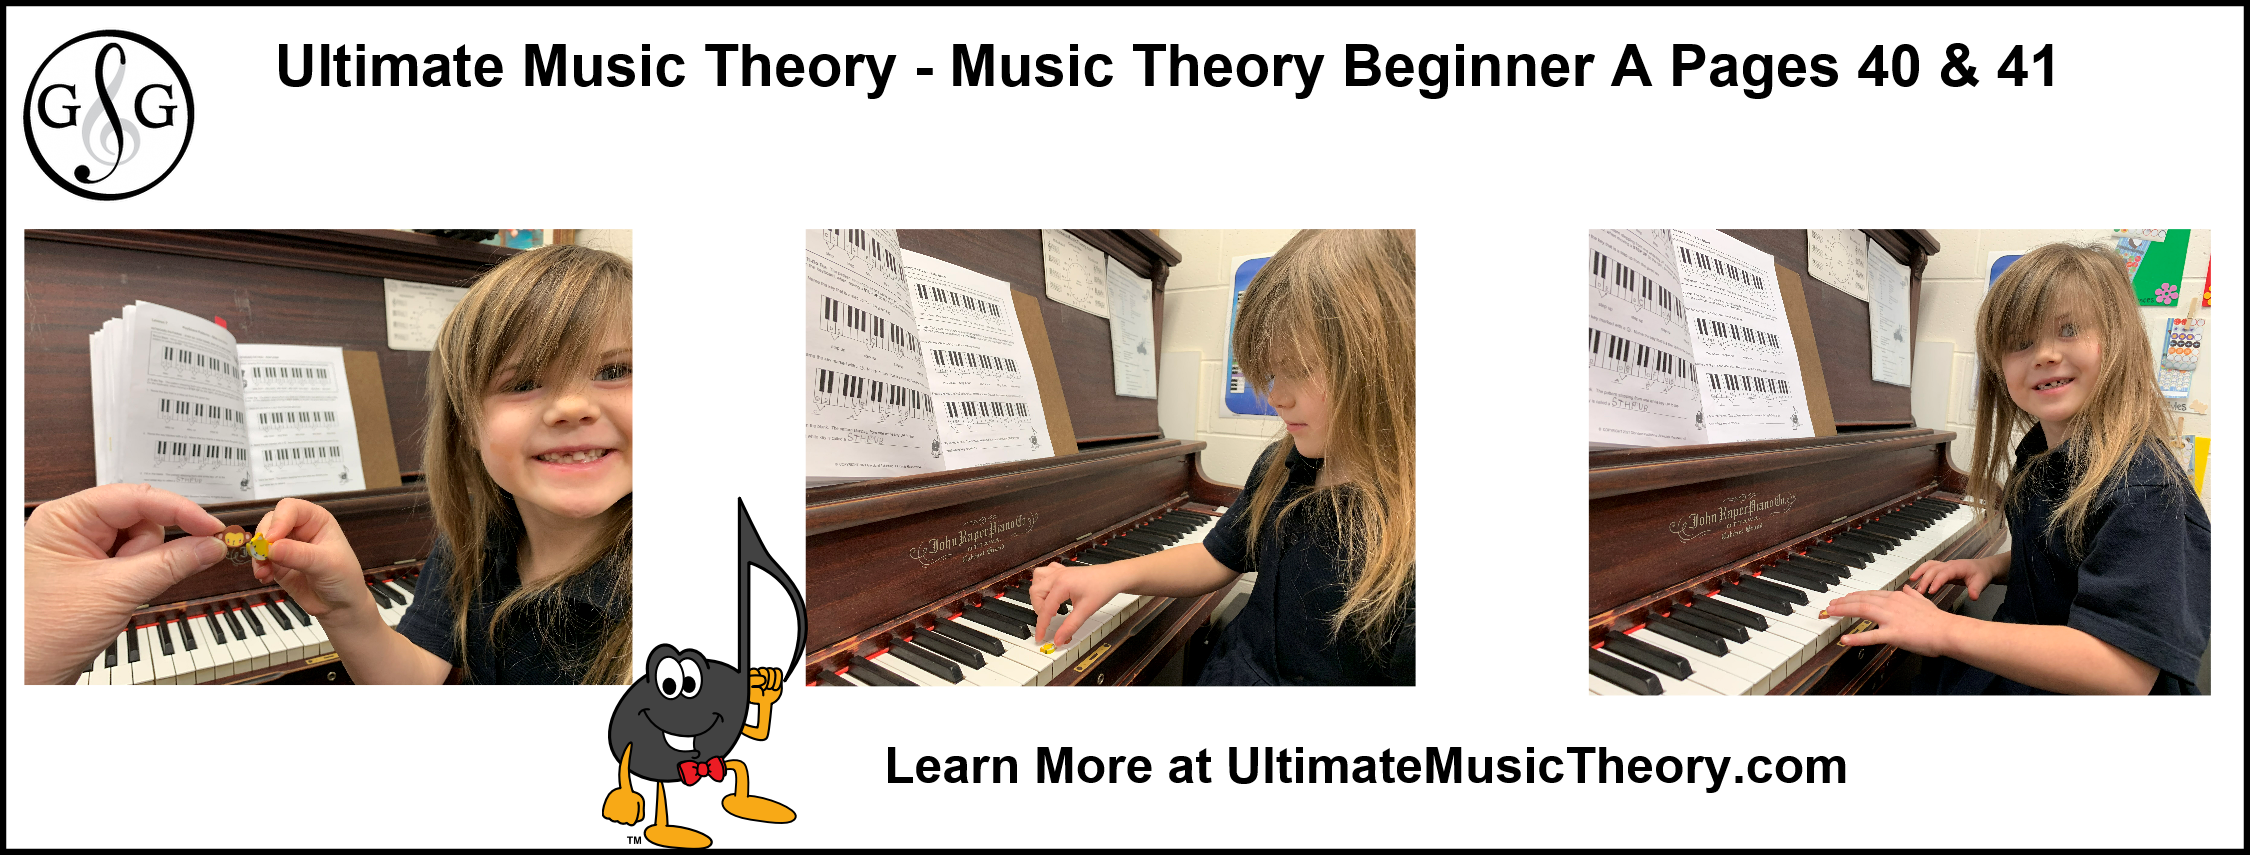
When teaching this Lesson, I like to assign pages 40 & 41 to be completed together. Using our little erasers, have your student place the erasers on the piano keyboard in the same pattern (on the same keys) that they see in the box at the top of Page 40.
Before we do any of the writing work, have your student play each pattern of erasers, choosing whether they are going to play each as a step up or a step down. Sing along with the steps, singing "Step UP" or "Step DOWN". You do not have to be on pitch - you DO have to move your voice higher for a step up and lower for a step down.
Discover that, when we are stepping on white keys, we always use next-door (neighboring) letter names. A step will never skip over a letter name! (Hint - that is a "skip" and we learn that on the next page.)
How to Teach Music Theory Beginner A Pages 42 & 43
Before starting these next pages, your Student should understand that a STEP is:
- the distance from one white key to the next white key, going up or going down, with no white key in the middle (in between).
- the pattern will use 2 next-door (neighboring) letter names in the Musical Alphabet, going up or going down to the next letter name, with no letter name in the middle.
Now let us discover and discuss what a SKIP is:
- the distance from one white key to another white key (skipping a white key) going up or going down.
- the pattern will also skip over a letter name in the Musical Alphabet (from one letter name to another, skipping over the letter name in the middle).
If it is safe to do so, go to a staircase and (holding on to the railing), carefully demonstrate how a "skip" will skip over one step on the staircase.
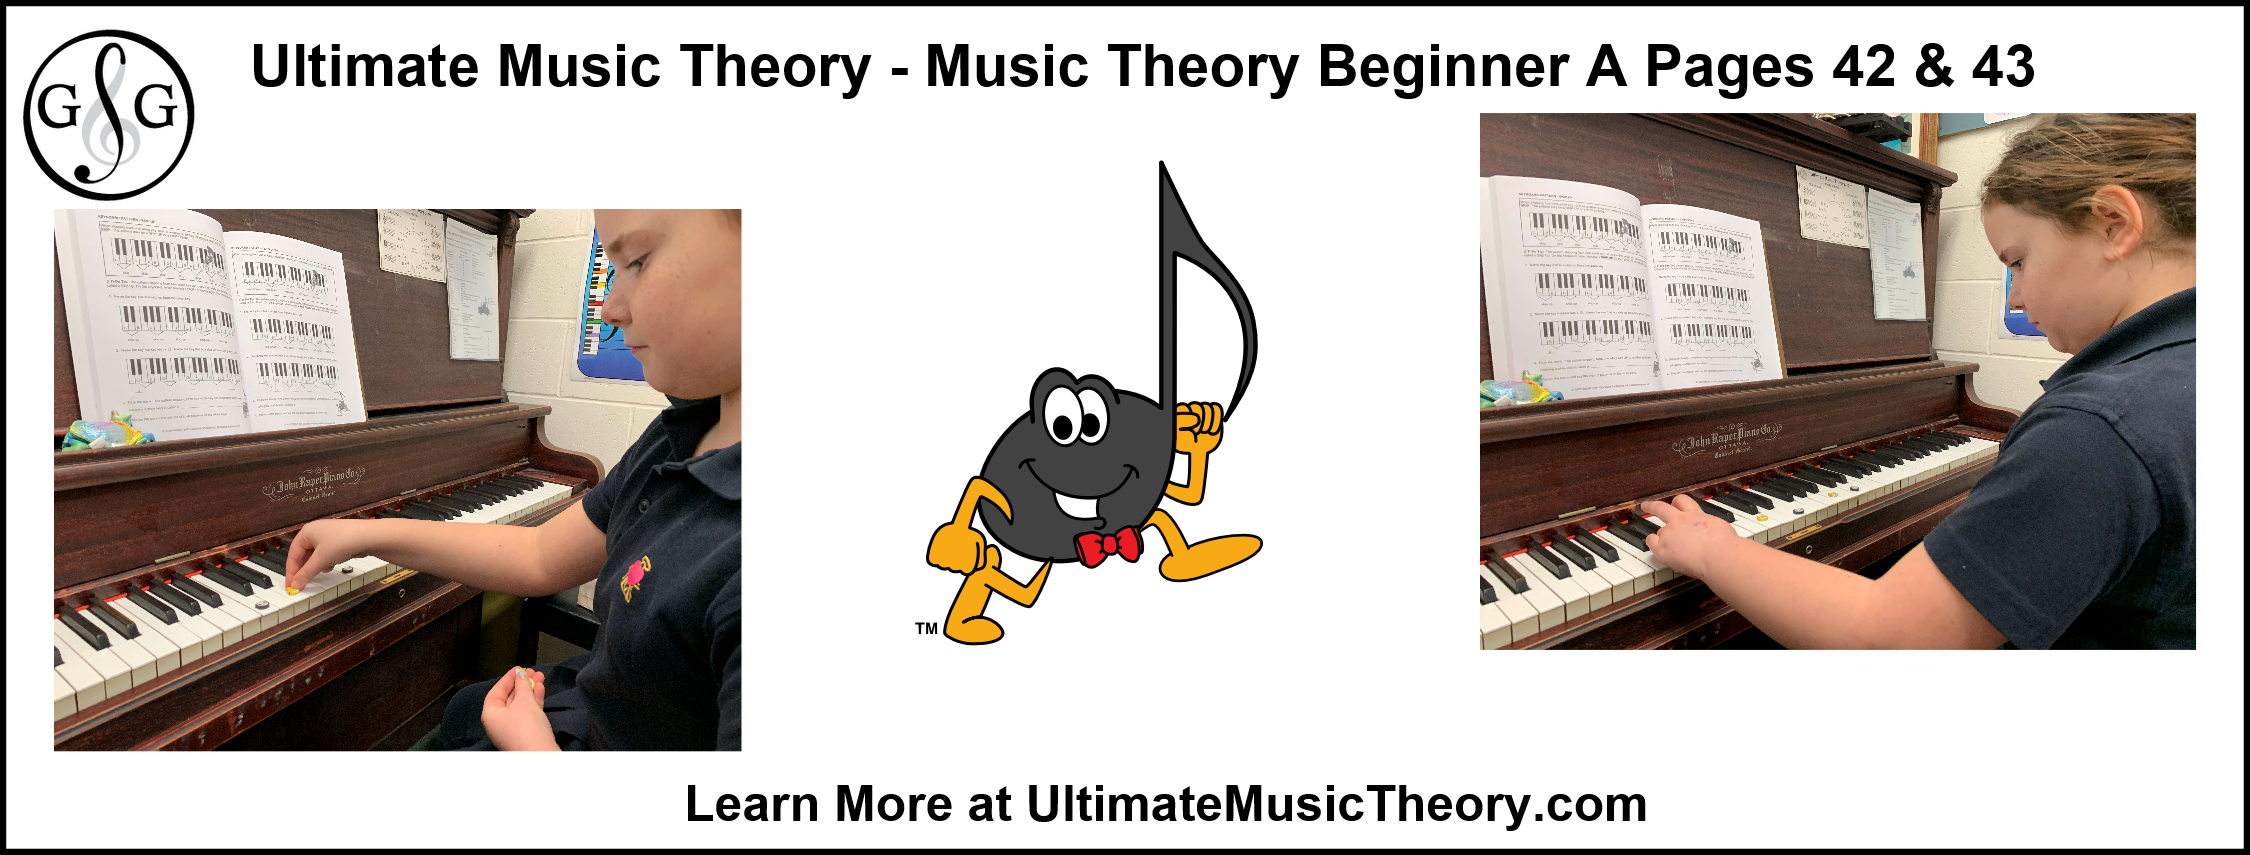
When teaching this Lesson, I like to assign pages 42 & 43 to be completed together. Using our little erasers, have your student place the erasers on the piano keyboard in the same pattern (on the same keys) that they see in the box at the top of Page 42.
Before we do any of the writing work, have your student play each pattern of erasers, choosing whether they are going to play each as a skip up or a skip down. Sing along with the skips, singing "Skip UP" or "Skip DOWN". You do not have to be on pitch - you DO have to move your voice higher for a skip up and lower for a skip down.
Discover that, when we are skipping on white keys, we always use letter names where we skip over one letter name. For example:
- A skips up to C (skipping over B);
- E skips up to G (skipping over F);
- D skips down to B (skipping over C);
- F skips down to D (skipping over E).
How to Teach Music Theory Beginner A Page 44
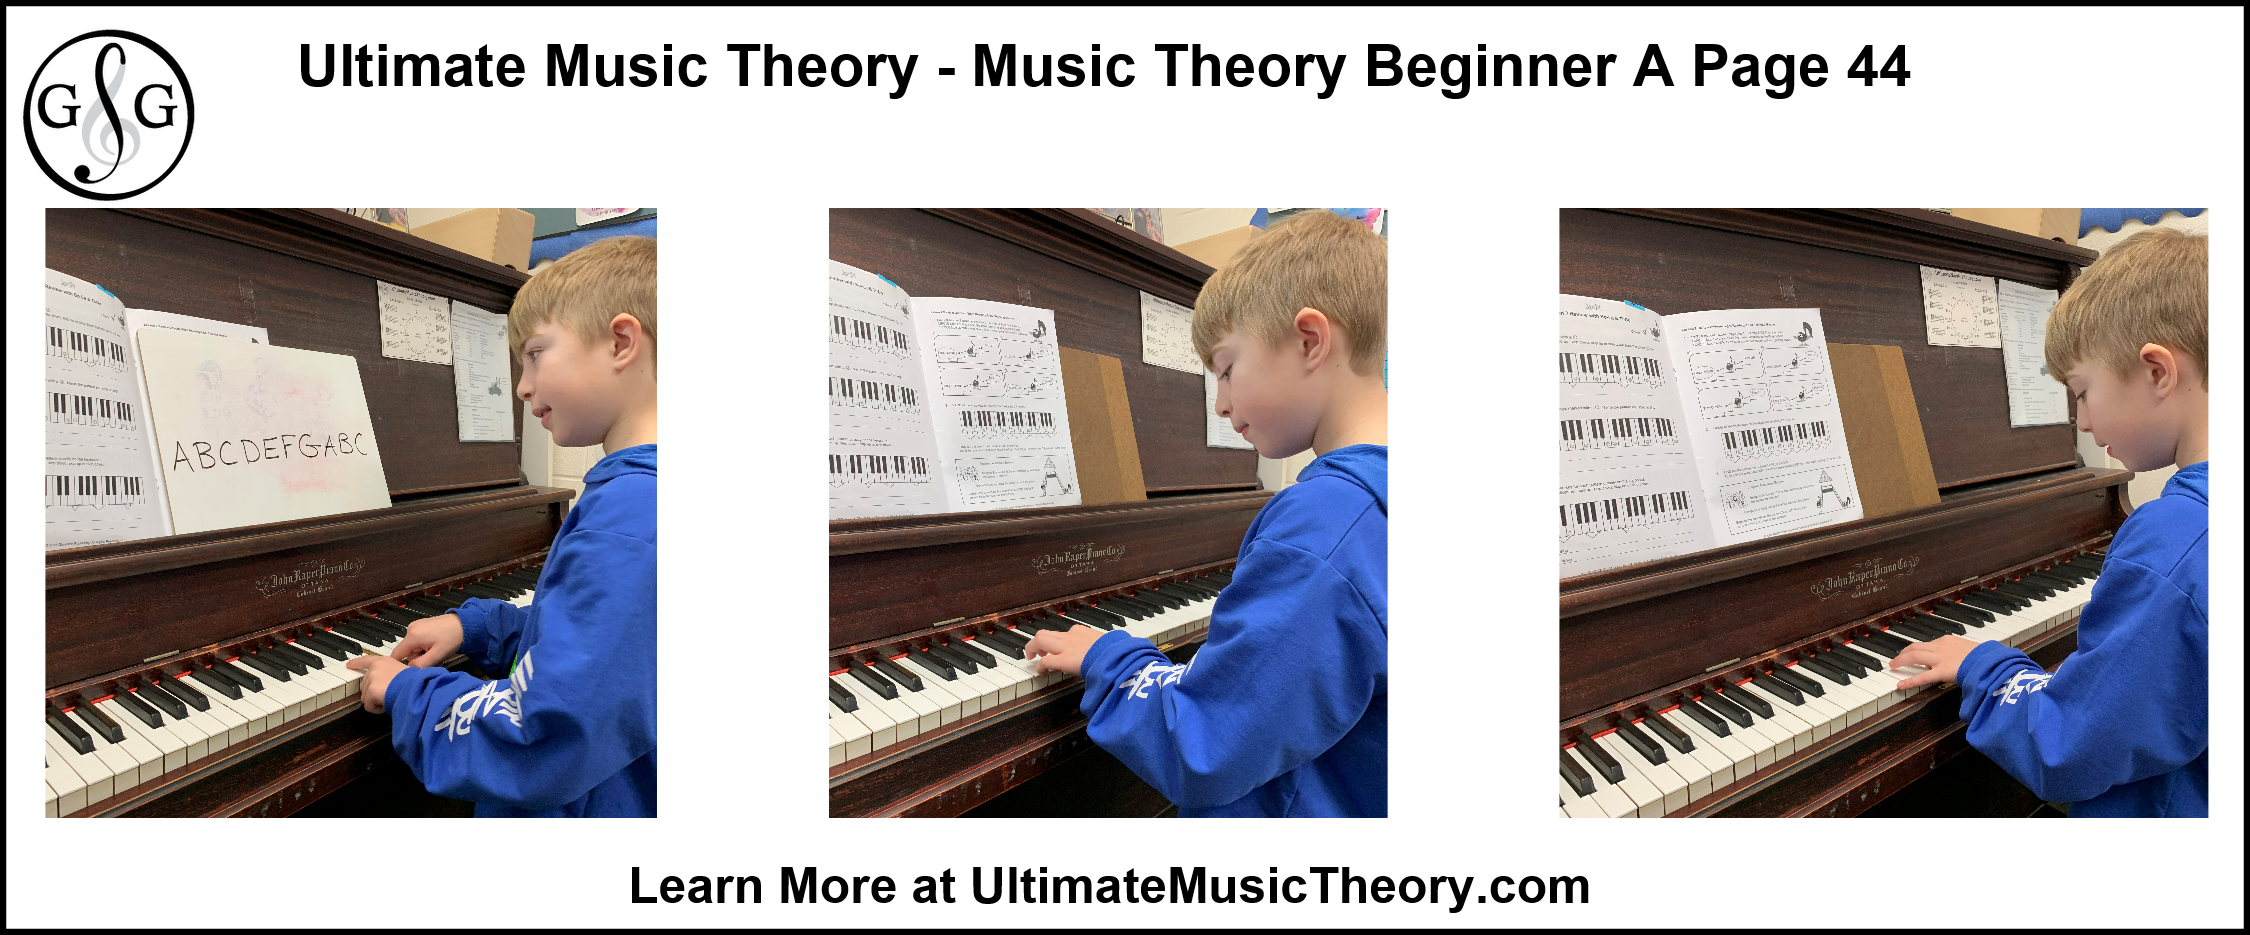
With my own learning disabilities, I find it extremely helpful for me to write out the Musical Alphabet on my Whiteboard (even after over 50 years of teaching). You might find this helpful with your students too.
When I assign Page 44, I like to write out the Musical Alphabet to help with completing Question #1.
- Say the name of the first key that has a Smiley Face on it.
- Point to that letter name on the Whiteboard.
- Look at the directional arrow - is it going UP or DOWN? Is it a STEP or a SKIP?
- Following that direction, point to that letter name on the Whiteboard. Say the name of the new key.
- Write your answer on the Keyboard for Question #1.
Now, to VERIFY (to prove) that you have the correct answer:
- Find and play the first key (with the Smiley Face) on the Piano Keyboard.
- Look at the directional arrow - is it going UP or DOWN? Is it a STEP or a SKIP?
- Following that direction, play that white key on the piano.
- Verify (check) that your letter names are the same
For my young students, we also color the arrows blue (for going up) and green (for going down). Again, this further strengthens their understanding of Direction.
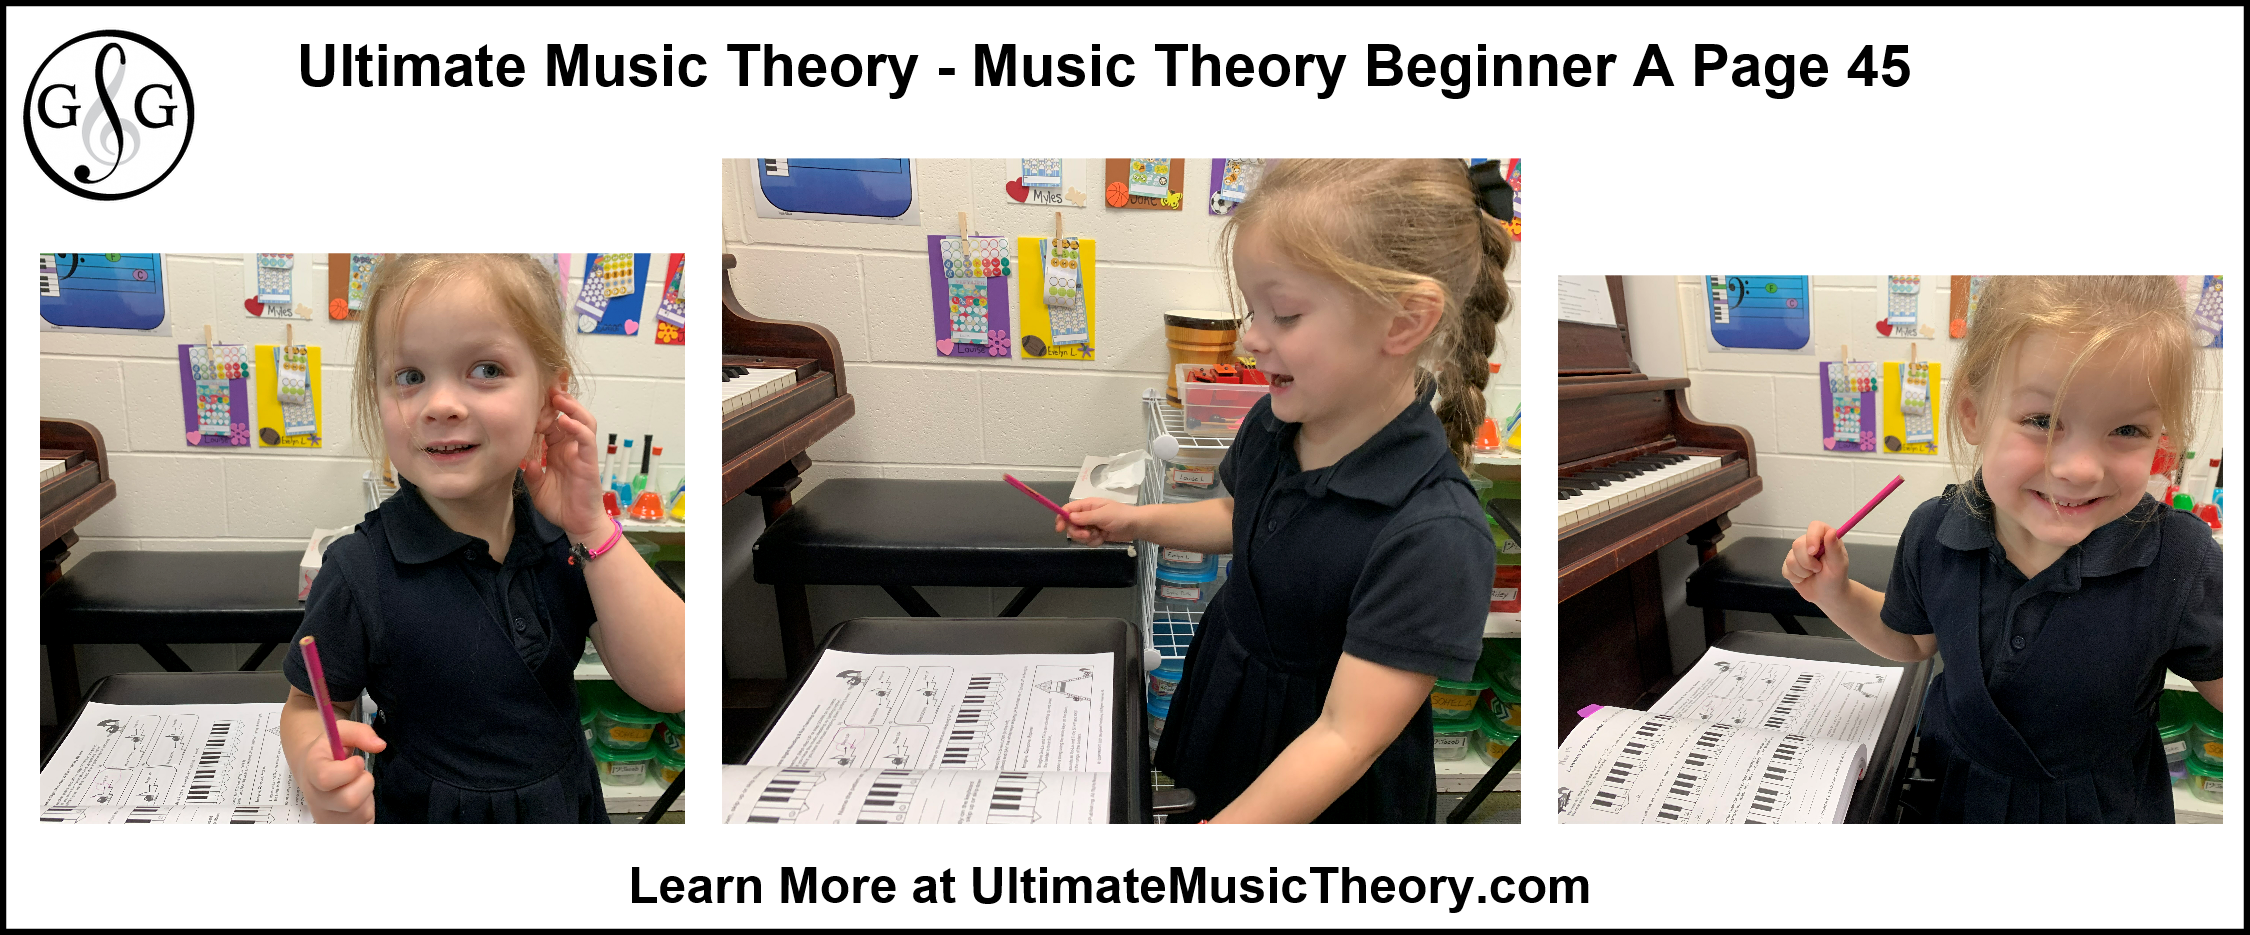
How to Teach Music Theory Beginner A Page 45
At your lesson, complete the Lesson 7 Review Game for Question #1. In this Ear Training Exercise, we are only stepping UP or stepping DOWN. We are not skipping. We want to ensure that the student understands the movement of stepping AND the direction of up or down.
Start by playing 2 notes (either a step up or a step down).
- Step 1 - Listen! Ask your student whether they hear a Step UP or a Step DOWN.
- Step 2 - Have your student sing "Step UP" or "Step DOWN" as you play the notes again.
- Step 3 - Circle the Correct Answer.
If your student struggles with hearing the correct answer, I recommend not just saying "wrong" as the student will then simply say the opposite direction (and thus they don't learn anything).
Instead, I like to discuss whether the step played on the piano sounds like the direction that our voice would sing. For example, the Student has identified the sound of C to D as a Step Down. I would play C to D and sing "Step DOWN" (really emphasizing that my voice is going lower into my grumbly grizzly bear voice). Have your student listen to see if your voice is matching the direction of the piano. Usually they will hear that it is not going in the same direction, and that means you can play it again and sing the correct direction.
(TIP - it is okay to do this "Play and Sing" for the correct answers too! This reinforces with the student that their ears will hear the direction and their voice will sing the direction.)
Sometimes though, kids still struggle to hear direction based upon just 2 notes. When this happens, I like to replay the step, and then continue stepping in the same direction. As I play, I will sing along "am I stepping UP, UP, UP" or "am I stepping DOWN, DOWN, DOWN"? BUT you are singing in the direction that the student thinks the pattern is going.
Remember, they gave you an incorrect answer, so we sing it to "hear" why it is not correct. Thus, if you played A to B, and the student identifies it as a "Step DOWN", you want to play "A-B-C-D-E-F-G" singing "am I stepping DOWN, DOWN, DOWN". They will hear that your voice is not going in the same direction as the sound on the piano.
Please understand that this is NOT easy for some students to do. It is completely normal for some students to not hear the patterns on the first attempt. If your student struggles to hear the direction when they are only hearing 2 notes, simply continue the pattern until they hear whether the sound direction is stepping UP or stepping DOWN.
Students can then do Questions #2 and #3 on Page 45 either at the lesson or at home. It is entirely up to you and whether you have time to do them at the lesson. I usually assign them as homework since I tend to spend more time with our Ear Training Question #1 on this page.
How to Teach Music Theory Beginner A Lesson 7 ICE - Page 45
ICE - Imagine, Compose and Explore! Students are encouraged to create a little song or story with sound as So-La and Ti-Do play on their fort. Here are some ways that you can encourage your student:
- If the ladder to the fort is the keyboard, do you want So-La or Ti-Do to climb up the ladder (the keyboard)?
- Is the ladder going to be long or short?
- Is So-La or Ti-Do going to step up the ladder (stepping from one key/rung to the next key/rung) or are they going to skip up the ladder (skipping over a key/rung)?
- Is So-La or Ti-Do stepping/skipping up the ladder quickly (fast) or carefully (slow)?
- Is So-La or Ti-Do creeping quietly down the ladder or are they stomping loudly down the ladder?
Voila! You have a story!
With a Smile and a Song,
Shelagh McKibbon-U'Ren
The Ultimate Music Theory Workbook Series - Beginner A, B, C, Prep 1, Prep 2, Basic, Intermediate, Advanced and Complete all-in-one Rudiments!

The UMT Workbooks include 12 Lessons & Review Tests, Music Theory Guide & Chart and 80 Flashcards in each workbook.
- 12 COMPREHENSIVE LESSONS - Simplify complex concepts
- GUIDE and CHART - Memory Joggers for fast and easy reference
- 12 REVIEW TESTS - Accumulative study including final exam
Ultimate Music Theory helps students prepare for nationally recognized theory exams, including the Royal Conservatory of Music Exams.
A Proven Step-by-Step Workbook System!
- LEARN FASTER – Use on any device, phone, tablet, computer
- EXPLORE – Identify written & audio notation
- PLAY – Sight Reading and Ear Training Games and much More!
Students will LOVE the UMT Flashcard System (App powered by Brainscape) that correlates to each lesson in the Beginner A, B, C, Prep 1, Prep 2, Basic, Intermediate & Advanced Workbooks.
Have fun building a foundation in Music Theory, Ear Training, and Sight Reading.
The One and ONLY Music Theory App & Matching Workbook!
Get Access To UMT Worksheets, Games, Activities, Posters, Certificates, Courses, Coaching Calls, Community & More!
Ultimate Music Teachers Membership
♪ LEARN ♪ PLAN ♪ TEACH ♪ GROW
The One & ONLY Ultimate Music Teachers Membership
To Become A UMT PRO!
Your Success Path Starts Here - Go To TeachUMT.com Today!

Ultimate Music Theory Certification Elite Educator Program - Online Teacher Training to Elevate Your Income, Impact Your Teaching and Grow Your Expert Music Teaching Business. Get Certified!
Click HERE to discover what you will learn in the Ultimate Music Theory Certification Course. Your professional development Online Teacher Training starts here!
Keep on Learning... With a Smile and a Song!
Shelagh McKibbon-U'Ren
